What is the canvas?
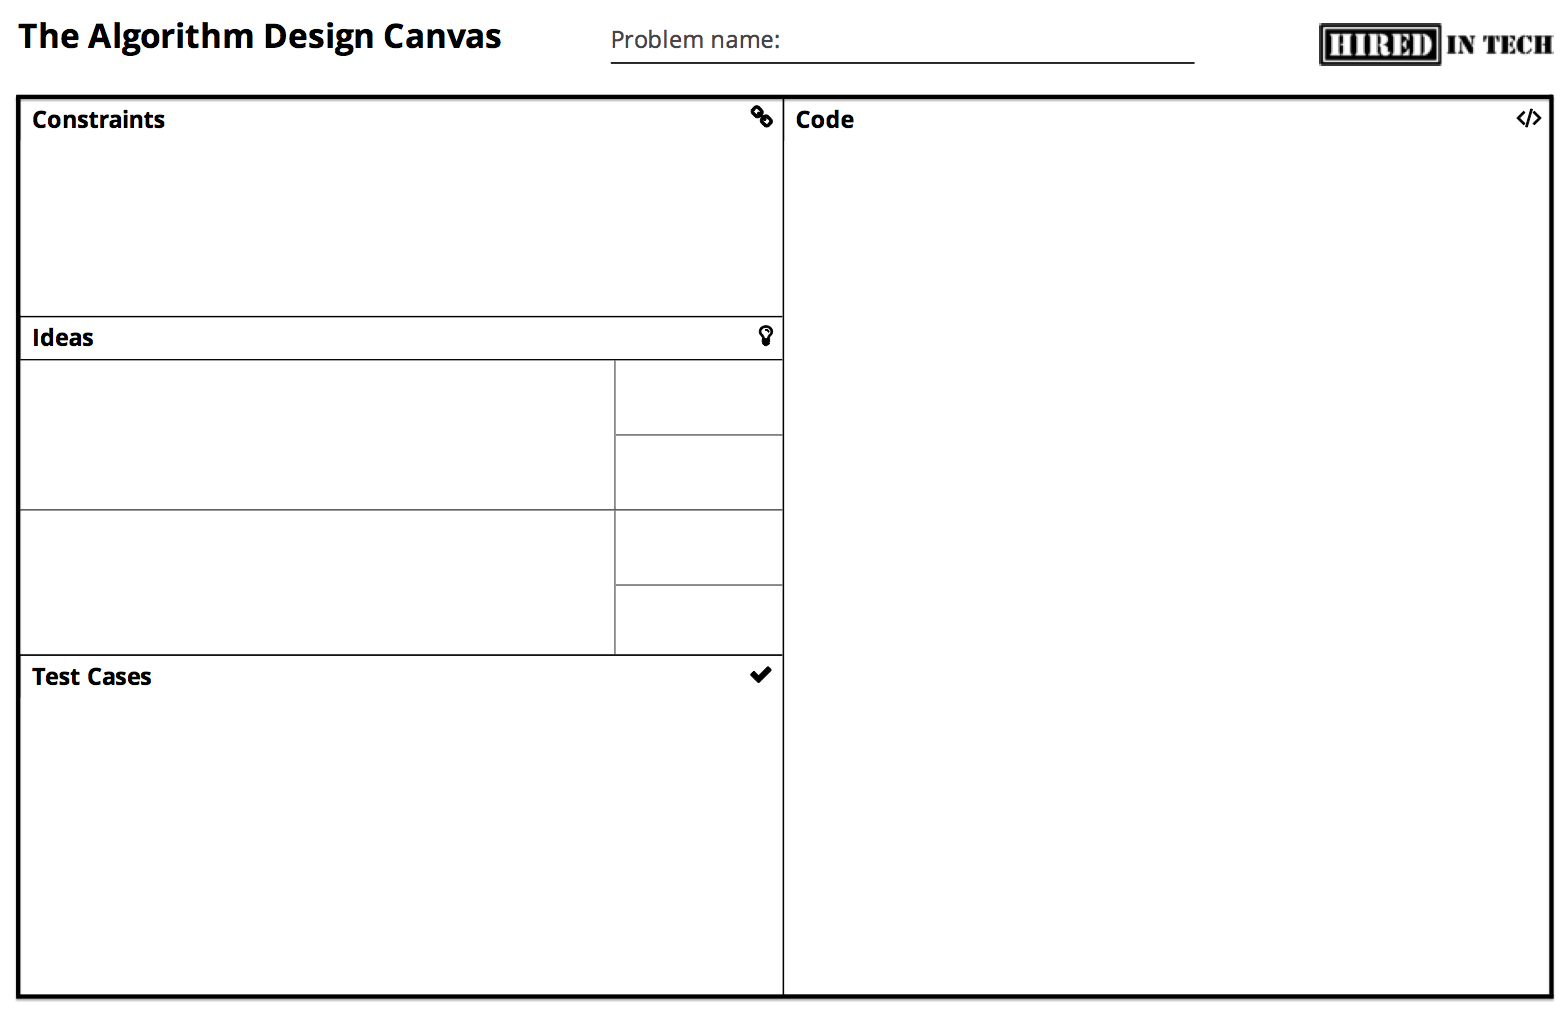
The Algorithm Design Canvas captures our process for tackling algorithm design problems.
It is a convenient way to represent algorithmic thinking. Every algorithmic problem, big or small, easy or hard, should eventually end up as a completed canvas.
The 5 areas of the Canvas
The Canvas contains 5 major areas: Constraints, Ideas, Complexities, Code, and Tests. Taken together, they capture everything you need to worry about when it comes to algorithm design problems. In further sections, we’re going to cover what each area represents, as well as many tips and tricks about filling them in. We’ll also work through some examples that let you see the Canvas in action.
Area #1: Constraints
The Constraints area is where you fill in all constraints of the problem. This includes things like how large the input array can be, can the input string contain unicode characters, is the robot allowed to make diagonal moves in the maze, can the graph have negative edges, etc.
Your very first task when analyzing an algorithm design problem is to uncover all its relevant constraints and write them down in this area. Learn more about constraints here.
Area #2: Ideas
After you’ve identified all constraints, you go into idea generation. Typically during an interview you discuss 1 to 3 ideas. Often times you start with one, explain it to the interviewer, and then move on to a better idea.
Your next goal is to fill in a succinct description of your idea: short and sweet so that any interviewer is able to understand it. Start learning more about idea generation here.
Area #3: Complexities
Each idea has two corresponding Complexity areas: Time and Memory. For every algorithm you describe, you will need to be able to estimate its time and memory complexity. Further in this course we will talk about the Time vs Memory trade-off and why it’s key to any algorithm design problem.
Learn how to analyze algorithm complexities here.
Area #4: Code
After you’ve identified the problem’s constraints, discussed a few ideas, analyzed their complexities, and found one that both you and your interviewer think is worth being implemented, you finally go into writing code.
Writing code at interviews is fundamentally different from writing code in your IDE. To understand why and to learn how to approach writing code at interviews, go here.
Area #5: Tests
Finally, you move on to writing test cases and testing your code. Many people completely ignore this step. This is not smart at all.
Learn more about what differs good tests from bad tests here.
That’s it.
By diligently following this process both during your preparation and at the interview, you will be way ahead of most candidates. Instead of freezing up and wondering what to do next, you are now equipped with the blueprint of a process that you can follow to solve any problem.
Now go ahead and print some Canvases!
The best thing to do at this point is to print a bunch of copies of the Canvas: they’ll come in handy as you prepare for your technical interview.
Print the Algorithm Design Canvas
We hope you find the Canvas as indispensable as we’ve found it over the years. Use it wisely, and use it often!
Example
To illustrate all this, throughout the next sections we will be using the Zig-Zag problem from TopCoder. Below is a video introducing ZigZag.
What’s next?
Let’s continue to the first Canvas area: the often overlooked topic of identifying all constraints of a problem!
